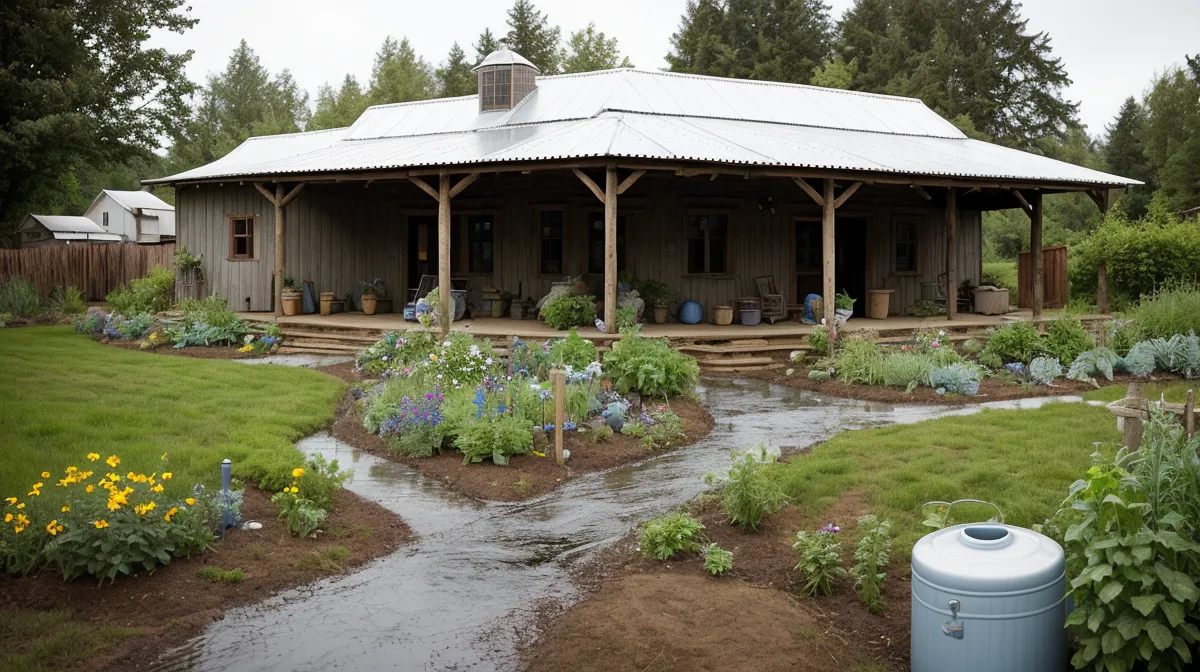
I never really thought about what was in a rain barrel until the day I lifted the lid and found a layer of what I can only call "roof tea" sitting on top of ours: pine needles, bird droppings, and whatever the squirrels and crows had been doing up on our roof since the last storm. Rainwater collection sounded almost too simple when we first started out here: catch it, store it, use it. Nobody mentioned that gutters are a buffet line for every bird in the county, or that the first splash off a roof drags all of that mess straight down into your barrel.
We've settled into five acres tucked into the Douglas County foothills of southwestern Oregon, long enough that I thought I'd mostly figured out our homestead water systems — the well, the pressure tank, the whole dance of keeping water moving where it's supposed to go. There's a corner of our mudroom these days that's basically turned into water-system mission control — gauges end up taped at head height without anyone planning it that way, and a hand-sketched map of where every pipe and valve runs lives under a layer of pushpins above the utility sink. It's the small stuff, like what's actually landing in my rain barrel, that still catches me flat-footed.
That's how I finally learned about the "first flush", a concept nobody explains to you before you start hauling home barrels. The first bit of rain hitting a roof after a dry spell doesn't just bring water. It drags along everything that's settled up there since the last storm: dust, droppings, pollen, the occasional bit of shingle grit. Skip the first flush and all of that ends up sitting at the bottom of your rainwater harvesting barrel, and cleaning that out in the middle of a muddy Oregon winter is nowhere near my list of favorite homestead chores.
A Beginner Homesteader's Crash Course in Roof Tea
I am not an engineer, and I've never pretended to be one. I'm someone who moved out of a Portland apartment and, our first summer out here, ran our well pump dry because I didn't understand how water tables worked. So when I started researching first flush diverters, I expected diagrams full of math I'd have to relearn. What I got instead was something a lot simpler: a vertical pipe that catches the first dirty surge of water before letting the cleaner stuff flow on into a barrel.
The rule of thumb most sites quote is about one gallon of diversion volume for every hundred square feet of roof. Our chicken coop roof is tiny, so I didn't need much of a setup there, but the main shed roof is big enough that we're talking about a real volume of "pre-wash" water before anything decent reaches storage. The mechanics are almost insultingly simple: dirty water fills the diverter pipe first, a float or a ball rises inside it, the float seals the pipe once it's full, and everything after that bypasses straight into a barrel, a standard 55-gallon drum in most basic setups. Think of it a little like skimming the foam off stock before you use it for soup: you're not changing the whole process, just removing the part nobody actually wants in the final pot.
Do You Actually Need a Diverter, or Just a Leaf Filter?
Here's where I'll be honest with you, the way I'd talk to a friend who just bought land and still has moving boxes in the garage. Plenty of homesteading sites insist a first flush diverter is non-negotiable. Then I spent one drizzly morning watching my own system struggle through a weak storm, barely catching anything worth catching, and realized that diverting the first flush can cost you real yield if you're not careful — especially in a dry summer when every gallon counts. If you're only watering ornamental flowers, or you live somewhere rain is scarce enough that losing any of it stings, a simple leaf filter screen might do more good than a full volume-based diverter.
If you're like me, though, and your heirloom tomatoes are basically a second job, you want that water as clean as you can reasonably get it. Oregon law generally allows homeowners to collect rainwater off a roof for non-potable uses, which is a relief, but "non-potable" was never supposed to mean "swamp water." A first flush diverter won't make the water safe to drink, and nothing in this build does that either. But it does cut out a big share of the sediment and surface grime, which keeps hoses from clogging and keeps your soil from getting a dose of whatever the local crows left behind that week. My friend June Abernethy, a fellow homesteader I met through a rural water co-op meeting a while back, trusts almost nothing that needs a battery, and she'd approve of this one: the whole system runs on gravity and a plastic ball. Nothing to charge, nothing to sync to an app, nothing to fail the first time the power blinks during a windstorm.
Here's What You Actually Need From the Hardware Aisle
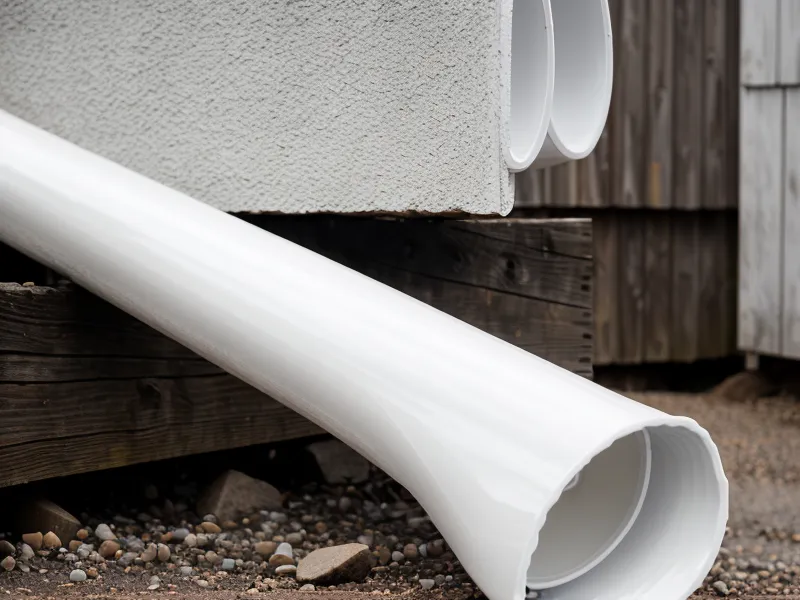
Getting the parts together took one trip to Coastal Farm & Ranch in McMinnville with a crumpled sticky note and more hope than plumbing knowledge. A basic diverter really only needs a handful of things: four-inch standard residential PVC pipe, since it's easy to find and fits most off-the-shelf diverter kits; a T-junction; a screw-on end cap for the bottom, so you can clean it out later; a small ball or purpose-made float to drop inside; and PVC primer and cement to glue the whole thing together. If you take exactly one piece of advice from me, let it be this: wear clothes you don't care about. That purple primer does not come out of anything, and I'm speaking from experience when I say it includes dog fur.
The DIY Plumbing Part Took Longer Than the Video Promised
I spent most of a Saturday wrestling with a hacksaw and purple primer, trying to build a vertical diversion chamber with zero actual plumbing training behind me. I had just a YouTube video propped against a bucket and plain stubbornness to go on. The sharp chemical sting of that primer hitting my nose while I knelt in the gravel behind the chicken coop is a smell I'm not going to forget anytime soon. It's the smell of doing it yourself because there's no landlord left to call.
Ruthanne, my next-door neighbor and self-appointed building inspector, wandered over about halfway through, watched me saw crooked for a minute, and muttered something about "city hands" before heading home to deal with whatever her rooster had done this time.
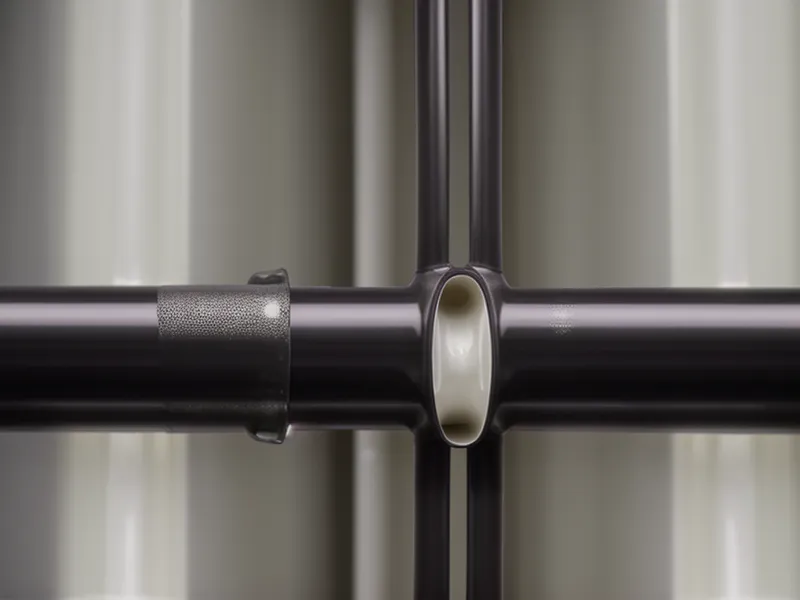
The actual process is straightforward once you've got the parts: cut the downspout, insert the T-junction, and attach the long vertical four-inch pipe to the bottom of the T. The side outlet of the T runs to the barrel. Drop a float ball inside that vertical pipe, and as the dirty first flush fills it, the ball rises. Once it reaches the top, it seals the opening, and the rest of the rain has nowhere to go but sideways — straight into the barrel. Low-tech, mostly plastic, and honestly kind of satisfying to watch work.
The Weep Hole I Forgot (And What It Cost Me)
After the first real downpour post-install, I felt like a genius. Then, about three days later, I noticed the water sitting in the diverter pipe hadn't moved AT ALL — it was just sitting there, turning into a mosquito hotel. This is the part where I remind you, again, that I am not an expert: I had completely forgotten to drill the weep hole at the bottom.
That meant standing out in the rain with a flashlight, watching the pipe stay stubbornly full, three days of standing water slowly turning into prime mosquito real estate. The weep hole is a tiny hole drilled into the bottom cap that lets dirty water drip out slowly, over about a day, so the pipe empties itself and is ready for the next storm. Skip it, and your diverter is a one-time-use pipe at best, a swamp at worst. I had to unscrew the bottom cap, catch a faceful of that same roof tea from earlier, and drill a 1/16-inch hole while muttering at myself the whole time. Lesson learned: it's always the small detail that ends up soaking you.
This wasn't even my first quiet water-system failure, either. Somewhere in our barn there's a single 55-gallon drum I filled up one fall, patted myself on the back for, and mentally filed away as a "backup water plan" — and I honestly couldn't tell you the last time I checked whether the water sitting in it is even still good. Having a plan on paper, or in a barrel, isn't the same as having a plan you've actually tested.
Seven Weeks Later: Clear Water and the Lesson That Stuck
Seven weeks after the install, Oregon finally threw a proper run of spring storms at us, which became the real test. Raincoat on, dogs watching me from the porch like I'd lost my mind, I watched the vertical pipe fill with dark, debris-heavy water. Then the float rose, seated itself, and the water running into the barrel turned clean — no leaves, no sludge, just plain rain, finally behaving itself.
That same week, almost as a test of my own, I ran the washer, the dishwasher, and the hose bib out back all at the same time, half-expecting the well pressure to sag the way it used to — and it never dropped at all. Two completely different water problems, solved months apart, somehow both clicking into place around the same stretch of spring. If you're chasing a gravity-fed setup for your garden or worried about sediment clogging a washing machine downstream, those are different projects entirely, but the mindset is the same: fix the thing that's actually broken, not the thing that's easiest to blame.
None of the plumbing part needs to be intimidating, for what it's worth. If I can glue PVC together without gluing my own fingers to the pipe in the process, anyone can. Every property is different, though — what works for a small greenhouse roof won't necessarily be enough for a full-size barn. And if you're ever unsure whether your water system in general is running right, especially if something's making a noise it shouldn't, it's worth a detour to why is my well pump making a loud humming noise recently before you go back to fiddling with rain barrels.
This Fixed One Thing, Not Everything
This whole project fixed exactly one thing — the water going into that barrel — and nothing more. Our original three barrels, blue, forty gallons each, lined up under the porch eave since before I knew what a first flush diverter even was, are still doing their job, just a bit cleaner now. I still have to remind the chickens not to peck at the shiny white pipe, and the dogs still think the whole rain barrel operation is deeply suspicious. But watching cleaner water go where it's supposed to go made me feel like I'd finally leveled up from "clueless city transplant" to something resembling "functioning homesteader."
Thinking about your overall water layout before you start matters just as much as the build itself. Figuring out the best place to put a rain barrel came long before I ever bought a length of PVC, and that groundwork mattered more than the diverter did. Gravity and elevation decide more about whether a rain barrel system works than any amount of clever plumbing downstream of it, especially once you're trying to route water anywhere other than straight down.
I say this every time because it bears repeating: I'm not a professional engineer or a licensed plumber. I'm a neighbor telling you what worked on five acres in southwestern Oregon, nothing more official than that. If you're planning to use this rainwater for anything beyond watering a garden, talk to an actual water treatment professional first. Rainwater can carry bacteria no diverter fully removes, and "cleaner" was never the same promise as "safe to drink." Drill the weep hole, keep an eye on your barrels, and don't assume a backup plan is working just because it's sitting there looking official.