
Ever run your thumb along the base of a faucet and feel a crust that scratches back and wonder, just for a second, whether that means something's actually wrong with your water? Most well water maintenance advice treats that question like it has one obvious answer. It doesn't.
Out here on five acres in the Douglas County foothills of southwestern Oregon, that gap between "looks bad" and "is bad" has cost us more than one ruined afternoon. Hard water remedies get lumped in with contamination fixes like they're the same skill. They're not. One is about minerals. The other is about what's actually living in your water. Confuse the two and you end up fixing nothing, or breaking something that wasn't broken in the first place.
Two Different Problems Wearing the Same Disguise
That white, chalky ring around a faucet base is calcium carbonate — basically dissolved rock that rides up out of the ground with the water and re-hardens the second it hits air. It's not evidence of contamination. It's just geology doing what geology does when it runs through a pipe for months at a stretch.
A friend of mine who spends her weekends competing in disc golf tournaments at Milo McIver State Park told me once that her cabin faucet looked "diseased," like something had gone wrong with the water itself. It hadn't. It just needed descaling, same as ours did.
We made the opposite mistake early on, and it was worse. Our water pressure had been acting strange, and instead of testing anything first, we poured bleach straight down the well casing and hoped for the best — treating a mineral problem and a possible contamination problem like they were the same emergency. They're not the same. Bleach does nothing to dissolved calcium. If there really had been a contamination issue, what we needed was proper shock chlorination done after an actual water test, not a guess.
Scrubbing Doesn't Stand a Chance Against Solid Rock
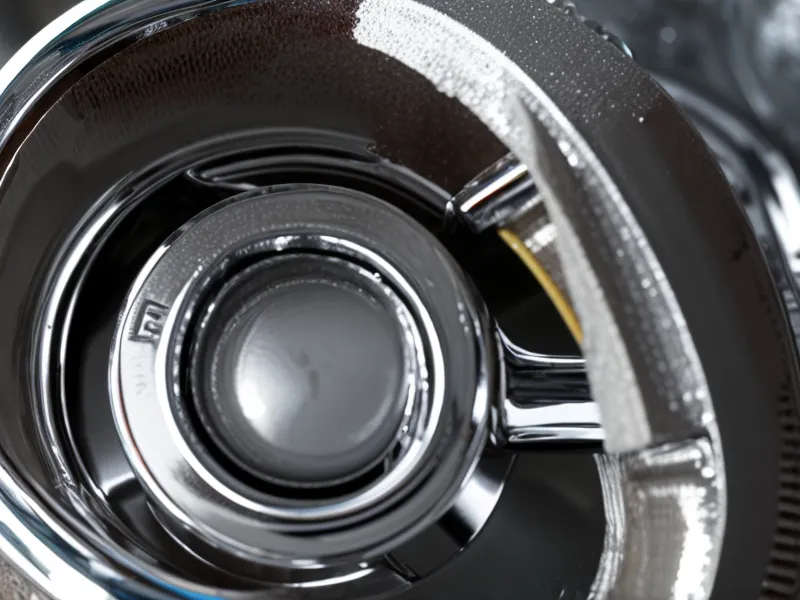
Once we actually looked at the crust instead of just panicking about it, the fix seemed obvious: scrub it off. I grabbed a heavy-duty sponge and went at the kitchen faucet like I was sanding a table. All that got me was a sore shoulder and a slightly shinier crust. Minerals that have had months to solidify don't care about elbow grease.
The pressure gauge told the real story before I ever got a wrench near the faucet — the needle trembling somewhere around 38 PSI, then sagging further every morning right as the sun came up and everyone in the house turned on a tap at once. Sometimes that's a pressure tank problem instead of a scale problem, a whole separate rabbit hole. This time it wasn't. It was the aerator, plain and simple, choking the line down to a trickle exactly when we needed water most.
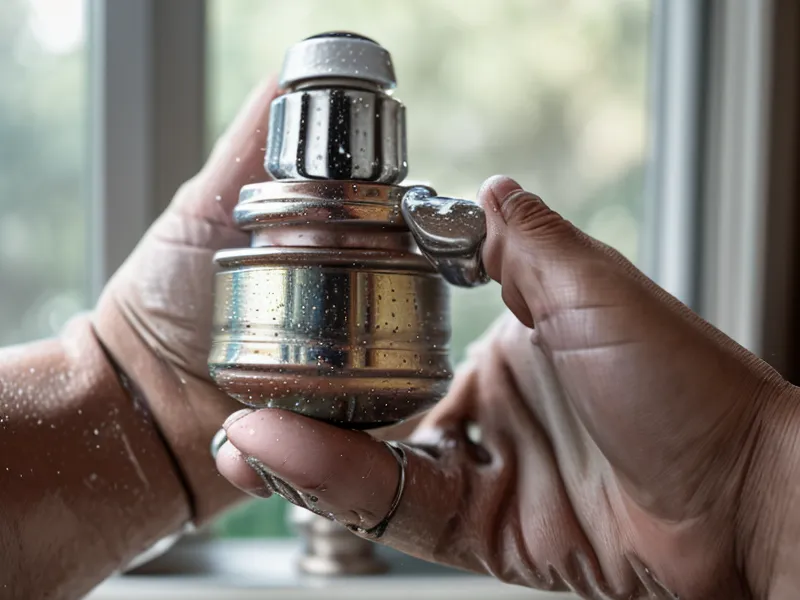
Determined to actually fix it instead of just scrubbing at it, I unscrewed the aerator — the little mesh screen right at the tip of the faucet — using a metal pipe wrench with zero protection on the chrome. The scrape it left behind was immediate and permanent, a set of gouges I still notice every time I do dishes. Wrap the tool in a rag FIRST. I cannot say this loudly enough.
If your faucets look like this, chances are your appliances are quietly eating the same grit — I've laid out the Best Sediment Filter for Well Water to Save Your Washing Machine before it wrecks a load of laundry. I spent way more energy worrying about what every former city dweller needs to know about well recovery rates than I ever spent actually looking at the tap, and the slow mineral disaster sitting right in front of me went completely unnoticed.
The Hard Water Remedy That Costs You an Aerator
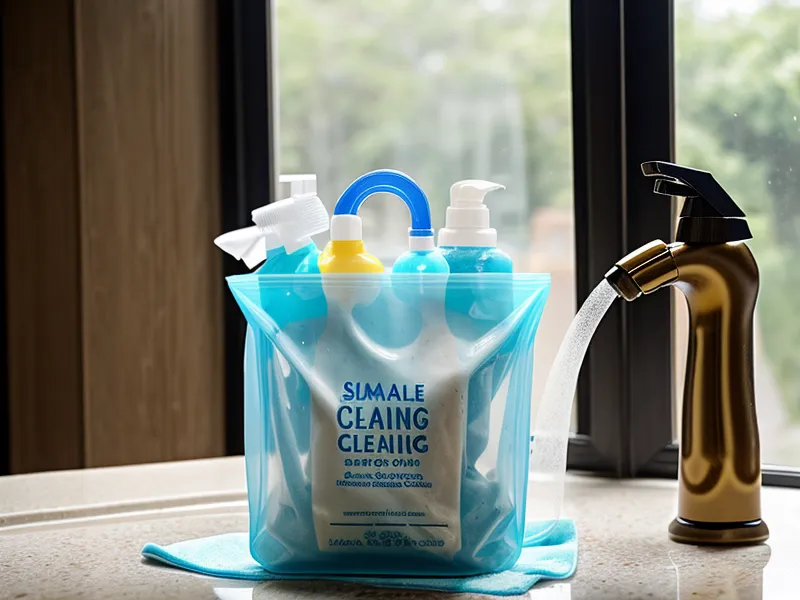
Every homesteading forum will tell you the same fix: fill a plastic bag with plain white vinegar, rubber-band it around the faucet so the tip stays submerged, and let the acetic acid go to work overnight. It works. Watching those mineral chunks dissolve without any scrubbing at all felt like cheating.
Here's the part nobody mentions: stop soaking your aerator in vinegar long-term. It's fine on solid brass or real stainless steel. But a lot of the aerators and internal threads on budget or rural-market fixtures are cheap zinc alloy, and that acid doesn't know the difference between mineral crust and metal. One of ours literally crumbled apart in my hand after its third soak — the acid had started eating the threads themselves, not just the buildup sitting on top of them.
So here's the actual rule, not the Pinterest version: vinegar is fine on the outside of the faucet, on the visible crust, for as long as you want. For the aerator itself, pull it out, give it twenty minutes in a much weaker solution — diluted lemon juice works — and go after the softened grit with an old toothbrush instead of another overnight soak. It's slower. It also doesn't dissolve your hardware along with the scale.
How Do You Actually Tell the Two Problems Apart?
Mineral scale has a signature once you know it: chalky, white or grayish, and it flakes or powders when you scrape at it with a fingernail. It builds up wherever water sits and evaporates — faucet necks, showerheads, the inside of a kettle. Smell and taste don't usually change.
A funky smell, a metallic taste, or a color shift is a different animal entirely — that's when you're looking at something in the water itself, not just minerals riding along with it. Sulfur is the classic one out here, and I've written separately about how to get rid of sulfur smell in well water, because that fix has nothing to do with scale.
The only honest way to know which problem you've got, instead of guessing based on what's crusted on your faucet, is to actually test the water. I mentioned this whole mix-up to another vendor at the Corvallis Saturday Farmers Market once, and she admitted she'd been scrubbing her fixtures for ages without once testing what was actually coming out of her tap.
Keeping the Crust From Coming Back
None of this requires becoming a plumber. It requires a dedicated rag so you're not gouging chrome with a bare wrench, a bottle of something mild under the sink, and a habit of actually checking your fixtures every couple of months instead of waiting for a faucet to start coughing at you. That's the whole of DIY plumbing out here — small, boring maintenance instead of dramatic fixes to homestead infrastructure that never should have gotten that bad.
I noticed it first at the hose bib by the coop, not the kitchen sink — the chickens went through an entire day without their trough running dry, no trudging out there with a bucket to top it off by hand, first time that had happened all winter. Scale had been choking that line too, quietly, the whole time I was fixated on the kitchen.
Treating every water problem on a place like this as the same emergency is a bit like reaching for a fire extinguisher over a scorched pan. The instinct to do something is right, but the tool has to match the actual problem. Test before you treat. Match the fix to what's actually crusted, growing, or smelling off in your water. That's the whole trick, and it isn't complicated once somebody just tells you straight.